I use different kinds of fusible web for different purposes. But for working with layers of bits of fabrics, papers, ribbons and other yarns, Misty Fuse (www.MistyFuse.com) is just the ticket. It is so lightweight that you can build up several layers and still see them.
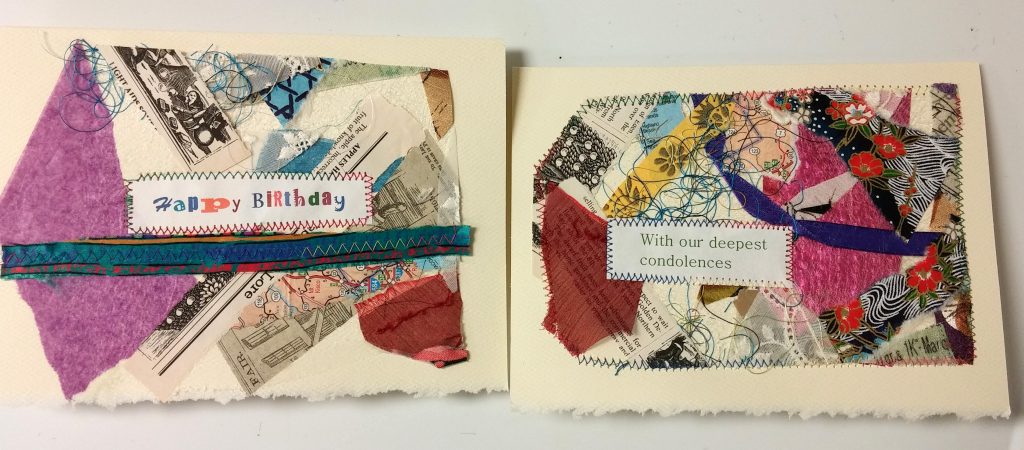
Here I am using bits of fabrics, maps, an old Farmers Almanac (I’m always looking out for interesting old paper items), some ribbon, lace and tissue paper.
I start with a generous piece of parchment paper (buy it in the baking aisle at the supermarket). Lay it down on your working surface.
On top goes a layer of Misty Fuse. Over that I arrange my first layer of paper, fabric, etc.
Then another layer of Misty Fuse, and more “stuff.”
After it looks the way you want it to, top with another piece of parchment paper, and press with a hot iron. Al of the layers will adhere together.
For this project, I cut up my layered work, added a few more touches, like wording, for my cards.
I also add some stitching. The adhesive bond with paper is not very strong, and I like the look of the stitching anyway.


where do you find Misty fuse. It sounds like it would be very useful. Judi
Hi Judi, mistyfuse.com, or order through Amazon. It isn’t available at Joann Fabrics.